San Diego’s master food preservers explain how to make the most of homegrown produce
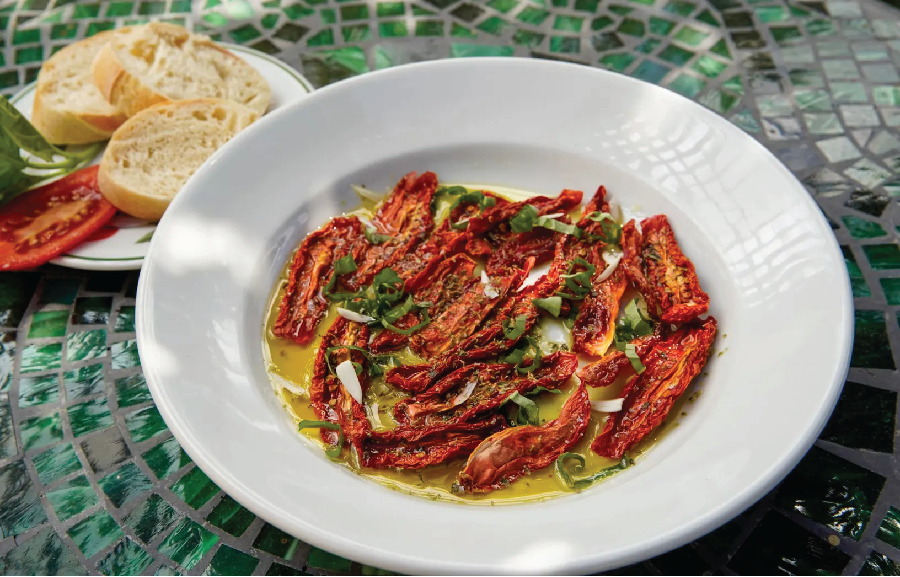
Dried Plum Tomatoes are one potential solution for a garden surplus. Here, they are served in olive oil with basil and garlic.(Alejandro Tamayo / The San Diego Union-Tribune)
With a focus on food safety, 20 program grads offer instruction and demonstrations, answer questions for public
By Carol Golden
(This article originally appeared in the October 16, 2024 edition of the San Diego Union-Tribune)
You’ve probably heard of master gardeners, the volunteers with horticultural training offered by universities who then go out into their communities, offering lectures, helping to create gardens, and answering home gardening questions.
Well, now in San Diego we also have master food preservers. They, too, undergo extensive training and then serve the public.
According to Marilynn Click, one of San Diego’s 20 master food preservers, the program was initiated by Shirley Salado, the supervisor for the Expanded Food Nutrition Education Program at University of California Agriculture and Natural Resources. The program already existed in other California counties.
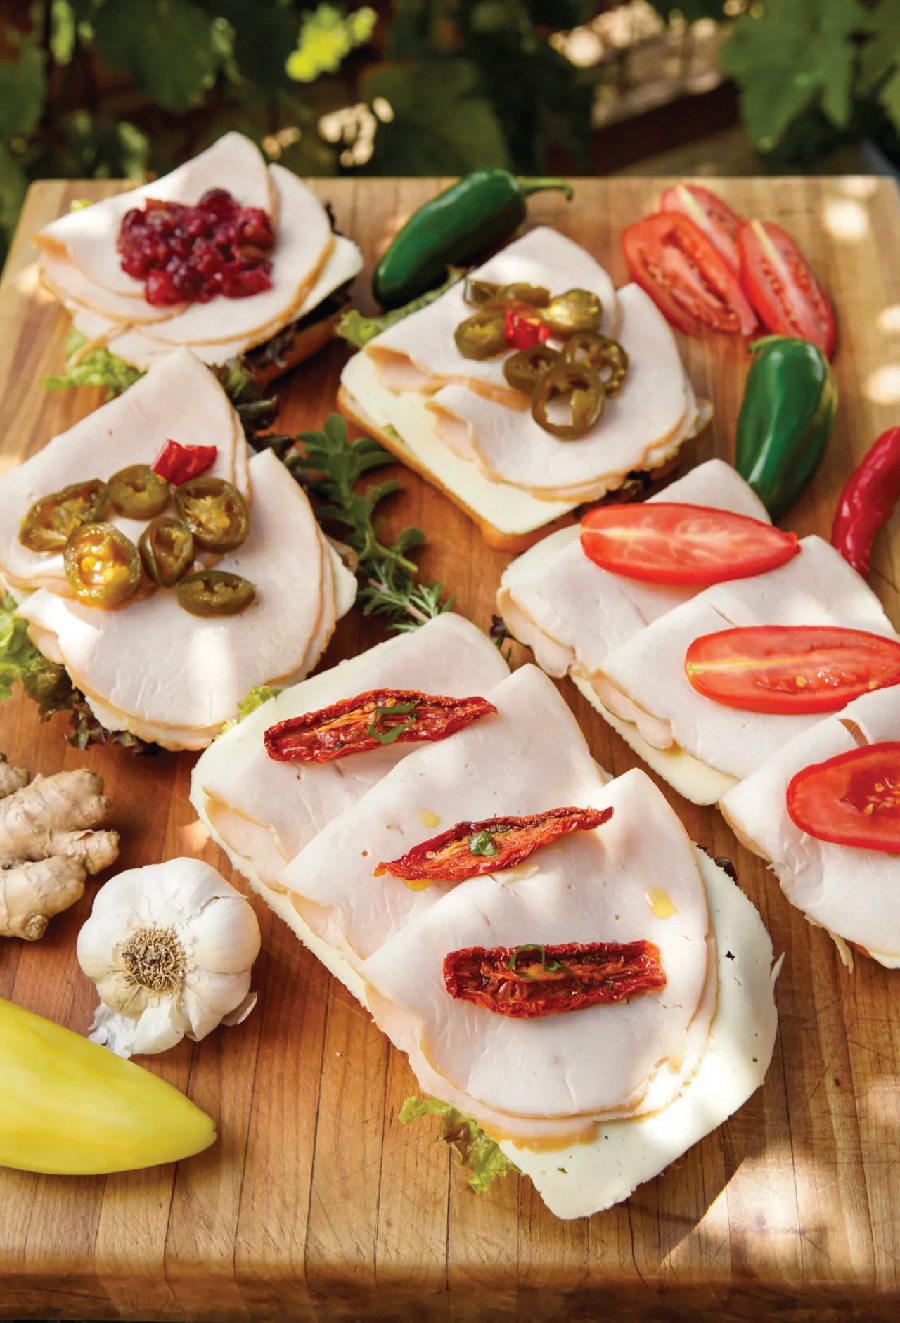
Sandwich bread slices are topped with turkey, Candied Jalapeños, Dried Plum Tomatoes and Cranberry Chutney. (Alejandro Tamayo / The San Diego Union-Tribune)
“She runs the Expanded Food & Nutrition Education Program that teaches nutrition in the community and was able to get a grant to get the master food preservers program here,” explained Click, the group’s volunteer coordinator.
The training program, through the University of California Cooperative Extension, entails six, two-hour online classes plus in person labs. The classes cover food safety, pickling and fermentation, high-acid canning, low-acid canning, dehydration, food storage, freeze drying and food-borne pathogens. All this leads to a final exam they must pass. There’s also continuing education that’s required, along with volunteer hours. The point is to help Californians safely preserve food in the home based on research-based practices.
Their instruction can bring a whole new level of opportunities for making the most of a good harvest or enjoying seasonal produce year round. And it can give home cooks who have been canning curious the confidence to tackle it safely.
“At the end of the day, we’re all about safety,” said master food preserver Dominick Fiume.
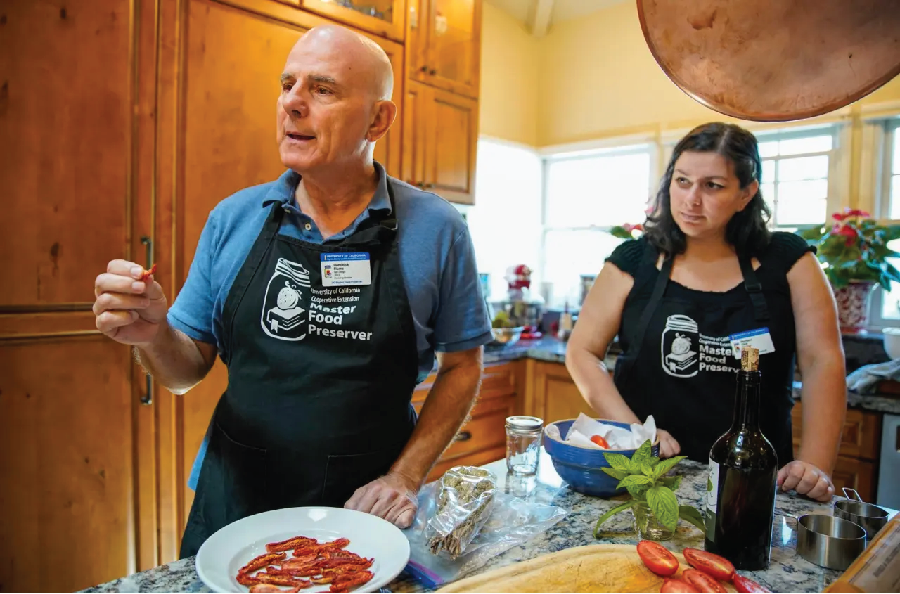
Dominick Fiume, with Marilynn Click alongside, discusses the process for making Dried Plum Tomatoes. (Alejandro Tamayo / The San Diego Union-Tribune)
The first group graduated in 2022 and they’re going out into the community to do demonstrations with groups interested in safely learning the arts of food preservation. They’re also available to answer questions via their website, ucanr.edu/sites/MFPSDC.
“The drive is to help people not waste food by refrigerating properly, freezing properly, and canning, dehydrating — all types of food preservation,” explained Fiume. “Food waste is a big drive in the program in California because so many people don’t know how to treat their food once they get it home from the grocery store. We also have a program called Preserving the Harvest. It’s basically garden to pantry, how to keep what you harvest fresher longer. What do you do with that bumper crop of cucumbers or tomatoes?
“It’s really exciting to be on the ground floor to get it started,” he said. “We’re ready to go out there and teach at libraries, community centers, cultural centers.”
They’ve already taught a class in Spanish at Olivewood Gardens and Learning Center in National City. They have an upcoming class to teach participants how to make cranberry chutney on Nov. 23. Details are available on the website.
I gathered with Fiume, Click, and their colleagues Jeannie Needham and Liz Woodward for a preserving session at Needham’s home. They prepared the cranberry chutney, along with candied jalapeños and dehydrated tomatoes, plus some dishes to show how to enjoy them.
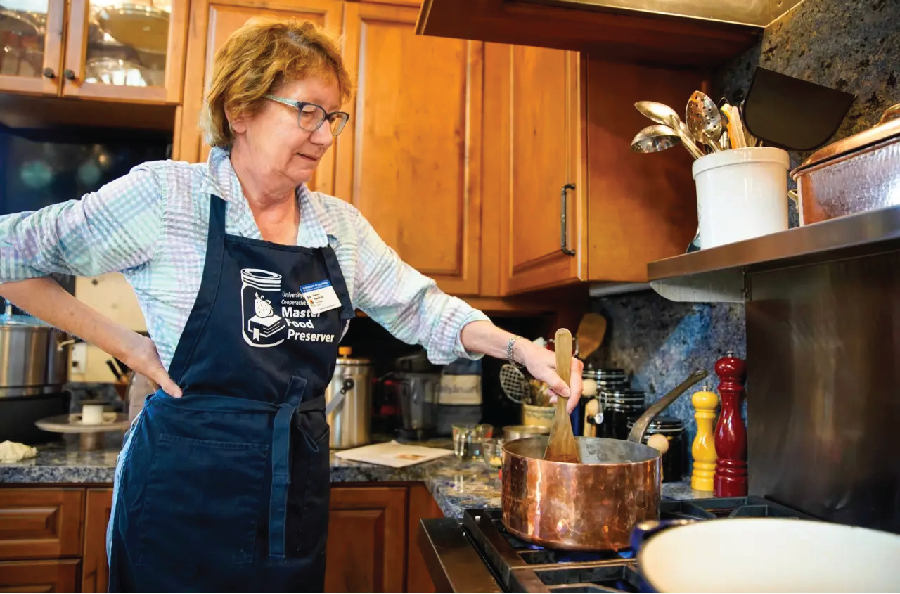
Jeannie Needham tends a pot as she prepares Cranberry Chutney. (Alejandro Tamayo / The San Diego Union-Tribune)
You’ll notice that the recipes here are either from a university cooperative extension program or Ball, the company that makes glass jars for preserving as well as other canning equipment. The reason, explained Fiume, is that the master preservers may only share recipes that have been lab tested and that, if followed closely by cooks, will be safe. So, no old family recipes here.
In fact, the master preservers warn, be careful about following canning recipes by random people on social media. The recipes may sound intriguing, but they may not be offering best practices and inexperienced canners risk getting sick from botulism or salmonella.
Instead, you can use a great tip from Fiume for finding great lab-tested recipes online. Let’s say you have a hefty crop of cauliflower you’d like to pickle. In your search bar, type the ingredient and what you want to do, the word site, then a colon, then .edu. So, here it would be pickled cauliflower site:.edu. Up come many options from various universities, along with the National Center for Home Food Preservation.
Another solid option is to visit the Ball website (ballmasonjars.com) and head over to their recipe page for tested recipes. And, of course, you can follow their food preservation guides. They have step-by-step videos both on that site and on YouTube under BallCanning.
One of the easiest ways to preserve food is drying or dehydrating. By removing moisture from food, bacteria and microorganisms can’t grow. One of the more delightful benefits is that drying concentrates flavor. Whether it’s tomatoes or figs or apples, you’ll enjoy a deeper flavor than from its naturally raw state.
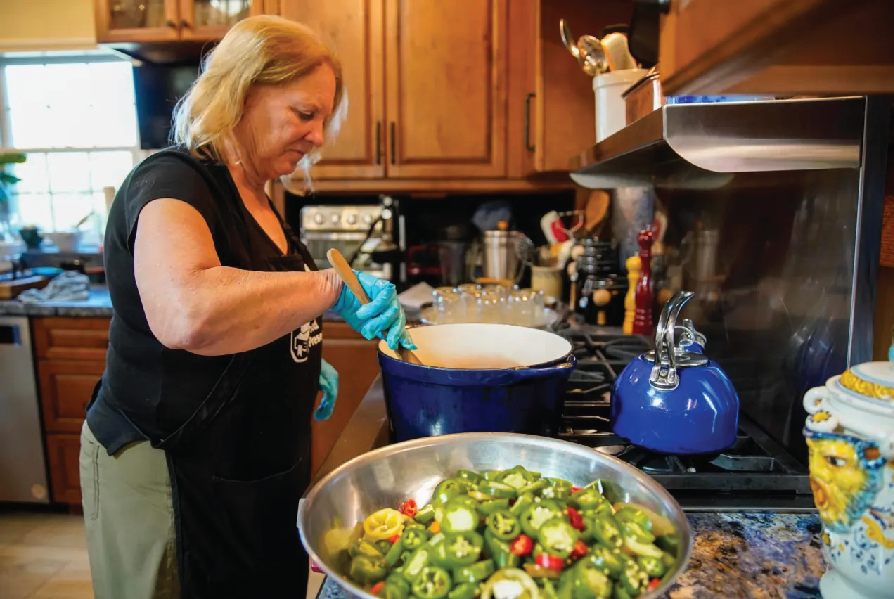
Liz Woodward stirs the pot of sugars for the Candied Jalapeños. (Alejandro Tamayo / The San Diego Union-Tribune)
While you could try to dry produce in the sun, it isn’t likely to happen in humidity, and oven drying could take days. Your best bet is a food dehydrator.
Fiume made a batch of dried tomatoes from his mom’s garden. It’s a pretty simple process: You use firm, ripe tomatoes like plum or Roma. Slice them thin or halve or quarter them, then place them on trays cut side up, leaving about half an inch of space in between. Then follow the dehydrator instructions. Basically, you set the machine to 140 degrees and let them dry for between 10 and 18 hours. When done, they should have a leathery texture. From there, you can store them in airtight freezer bags in a cool dark place or freeze them.
What can you do with dehydrated tomatoes? Well, Fiume prepared his mom’s Calabrian salad, which he grew up eating. It’s a simple, summer, all-day-long mixture of the tomatoes, julienned fresh basil leaves, thinly sliced fresh garlic, olive oil and a sprinkling of salt. I diced some of his dehydrated tomatoes into a tomato sauce I made with roasted vegetables and that simple addition added sweetness and tomato-y depth to an already rich sauce.
Rehydrate them in olive oil or water and mix them into scrambled eggs, add them to a filling to stuffed peppers or cabbage, puree them into a vinaigrette, or add them to a salad or sandwich. Or just snack on them. Another way to enjoy them is pureeing the dried tomatoes into a powder to sprinkle over toast or mix with grated cheese to put on popcorn, corn on the cob, or in a baked potato.
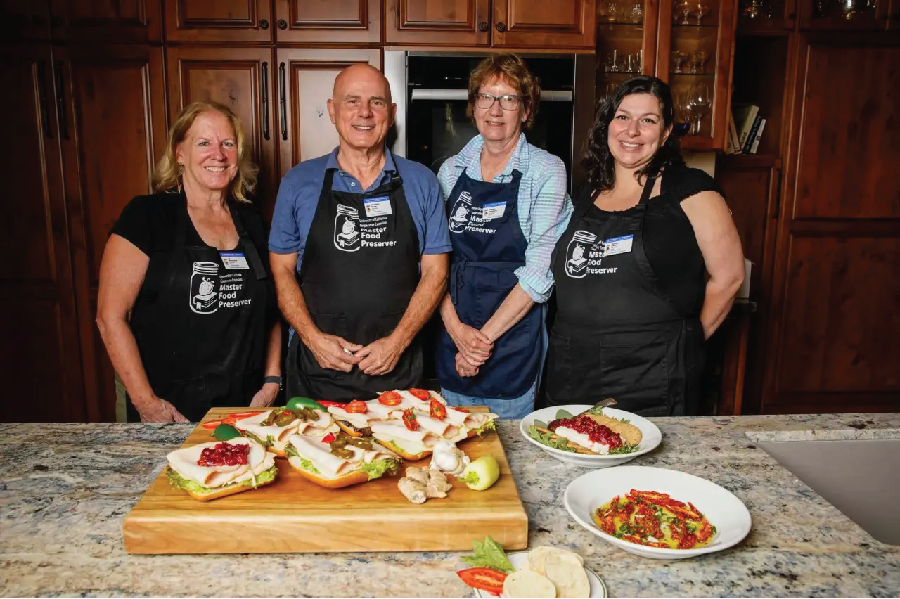
Four of San Diego’s 20 master food preservers, from left: Liz Woodward, Dominick Fiume, Jeannie Needham and Marilynn Click. The experts offer demonstrations in the community with groups interested in learning the art of food preservation. (Alejandro Tamayo / The San Diego Union-Tribune)
How about making candied jalapeños? These are delicious pops of sweetness and heat, perfect for a sandwich or wrap, in a bean salad, or even to top vanilla ice cream.
I’ll spare you the canning directions. You need a comprehensive explanation for that. But the recipe itself calls for vinegar, salt, sugar, sliced garlic, turmeric, cayenne powder, mustard seeds and sliced jalapeños. Don’t remove the seeds; that’s what provides the zing. And, if available, use both green and red peppers for the aesthetics in the jar — because, of course, they make great gifts for the holidays.
Combine all the ingredients but the jalapeños in a large saucepan and bring them to a boil, stirring all the while. Once the sugar is dissolved, add the jalapeño slices, lower the heat and simmer for about 15 minutes. The jalapeños will deepen in color and absorb the brine. Then, you’ll ladle the mixture into hot, sterilized jars and follow the directions for canning.
Finally, there’s the cranberry chutney. This is the perfect Thanksgiving condiment. It’s sweet from raisins, candied ginger, orange juice and sugar; tart from the cranberries, of course; warm from ginger, cinnamon and cloves; and has a bit of heat from cayenne pepper. We savored the chutney on a turkey sandwich as well as poured over a block of cream cheese to enjoy with crackers.
This recipe takes some initial prepping, but once you have that completed, it’s just a matter of bringing to a boil the first set of ingredients — cranberries, onion, pineapple, garlic, ginger, orange zest, orange juice and vinegar. You’ll reduce the heat a bit and cook until the cranberries soften and burst. Then add sugar, raisins, water, mustard, cinnamon, cloves and cayenne pepper. That will come to a boil, and then you’ll stir for about 15 minutes until the ingredients come together. Don’t worry if it’s runny; it will thicken as it cools. From there, you ladle the chutney into hot, sterilized jars and follow the canning directions.

